")
In the previous article, we took a look at the code that allows us to create a Rules model with an interface in the Admin Panel. That was a significant part of the module, which is useless by itself if you don’t learn how to use it on the frontend. Thus, it’s high time to figure out the importance of rules and conditions within them.
Any validation model inherits conditions that help validate an object. As a result, based on this validation check, we can perform certain activities. In our example, we’ll create a rule that allows defining if there is an item with the `heavy_weight` attribute value that equals 1 (true) in the shopping cart. In case such an item gets found, we will display a block with the following message ‘You have some heavyweight items in your cart, please contact us to discuss delivery.’ on the shopping cart page.
*It is critical to understand that the way we load our Rule model won’t fit a real-life case 100%. This is for the reason that we’ll neatly specify a rule with which the Rule ID must be loaded. Based on it, we will validate the known object with the items from the cart―shipping address. In a module that has not been created as an example, Rules objects must be loaded as a special class, which will validate them against their compatibility with the current environment, i.e., a store, a customer and its group, time, date, etc. We will surely deal with this matter in a series of further related articles. *
Important side note:
Now, the code of the module is freely available in the public repository on github.com. Thus, no more code copy-pasting from our blog posts. All the required code is conveniently available here.
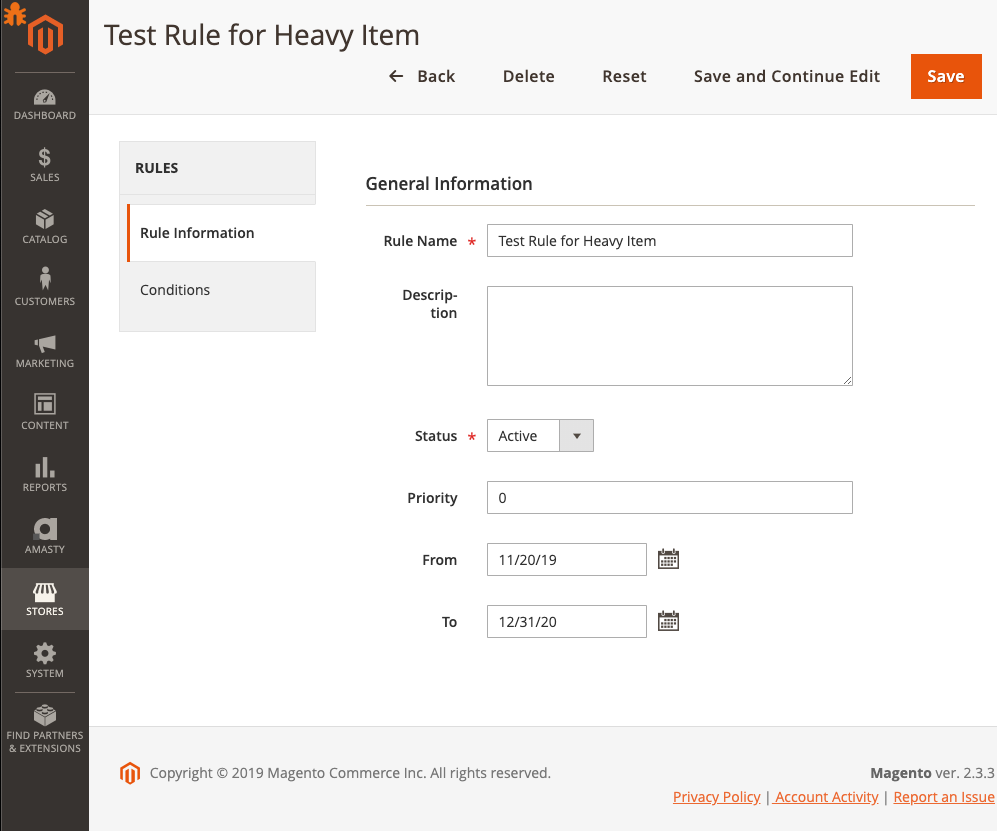
First, let’s create a new rule in the Admin Panel, which will help find a product with the attribute value specified as heavy_weight:

*If you don’t see your attribute in the attributes list in conditions, make sure to check this attribute’s configuration first. It shall be done to ensure the Use For Promo Rule Conditions option is not disabled for it.
To do that, go to Stores > Attributes > Product. Then, select your attribute from the list > Storefront Properties >. Use for Promo Rule Conditions must be set as ‘Yes’. Please, refer to the screenshot below for more details:

My rule has ID 1. Further, I’ll use it to facilitate the process of loading. Now, let’s update the layout of the cart page by adding our new block that displays a new message to it.
`app/code/Vendor/Rules/view/frontend/layout/checkout_cart_index.xml`
```xml
<?xml version="1.0"?>
<page xmlns:xsi="http://www.w3.org/2001/XMLSchema-instance" xsi:noNamespaceSchemaLocation="urn:magento:framework:View/Layout/etc/page_configuration.xsd">
    <body>
        <referenceContainer name="checkout.cart.form.before">
            <block class="Vendor\Rules\Block\Cart\RuleExample" name="custom_block_with_rules" template="Vendor_Rules::cart/example.phtml"/>
        </referenceContainer>
    </body>
</page>
```
As you might have noticed from the layout, we will need 2 more files: a block and a template. Let’s create them:
`app/code/Vendor/Rules/view/frontend/templates/cart/example.phtml`
```php
<?php
/** @var \Vendor\Rules\Block\Cart\RuleExample $block */
?>
<?= $block->getMessage();?>
```
It’s all made simple in the template, i.e., just a message output. If required, you can add a layout as needed.
Keep in mind that when using such templates on full-page cache pages, the results will be cached as well. A different approach should be used for such pages, which is described in detail in the official Magento dev docs.
It’s time to add the main class from the example. Here’s the block class:
heckout\Model\Session as CheckoutSession;
use Magento\Framework\Exception\LocalizedException;
use Magento\Framework\View\Element\Template;
use Magento\Quote\Model\Quote\Address as QuoteAddress;
use Vendor\Rules\Model\Rule;
use Vendor\Rules\Model\ResourceModel\Rule\CollectionFactory as RulesCollectionFactory;
/**
 * Class RuleExample
 */
class RuleExample extends Template
{
    /**
     * @var RulesCollectionFactory
     */
    private $rulesCollectionFactory;
    /**
     * @var string
     */
    private $message;
    /**
     * @var CheckoutSession
     */
    private $checkoutSession;
    /**
     * RuleExample constructor.
     *
     * @param Template\Context $context
     * @param RulesCollectionFactory $rulesCollectionFactory
     * @param CheckoutSession $checkoutSession
     * @param array $data
     */
    public function __construct(
        Template\Context $context,
        RulesCollectionFactory $rulesCollectionFactory,
        CheckoutSession $checkoutSession,
        array $data = []
    ) {
        $this->rulesCollectionFactory = $rulesCollectionFactory;
        $this->checkoutSession        = $checkoutSession;
        $this->message                = '';
        parent::__construct($context, $data);
    }
    /**
     * @return string
     */
    public function getMessage(): string
    {
        if ($this->message) {
            return $this->message;
        }
        $shippingAddress = $this->getShippingAddress();
        if (!$shippingAddress) {
            return $this->message;
        }
        $rule = $this->getRule();
        if ($rule && $rule->validate($shippingAddress)) {
            $this->message = __(
                'You have some heavy weight items in your cart, please contact us to discuss delivery.'
            );
        }
        return $this->message;
    }
    /**
     * @return Rule|null
     */
    private function getRule(): ?Rule
    {
        /** @var \Vendor\Rules\Model\ResourceModel\Rule\Collection $rulesCollection */
        $rulesCollection = $this->rulesCollectionFactory->create();
        $rulesCollection->addFilter('rule_id', 1);
        /** @var Rule|null $rule */
        $rule = $rulesCollection->getFirstItem();
        return $rule;
    }
    /**
     * @return QuoteAddress|null
     */
    private function getShippingAddress(): ?QuoteAddress
    {
        /** @var \Magento\Quote\Model\Quote $quote */
        try {
            $quote = $this->checkoutSession->getQuote();
        } catch (LocalizedException $exception) {
            return null;
        }
        if (!$quote) {
            return null;
        }
        return $quote->getIsVirtual() ? $quote->getBillingAddress() : $quote->getShippingAddress();
    }
}
```
Let’s dwell on this class a little as that’s precisely where the validation is hidden. It has solely one public method that we use in our template. It’s the `getMessage()` method. Inside the method, a correct rule gets specified (it will validate our cart), as well as the shipping address (it will be used for validation).
We get the shipping address using the standard frontend functionality, i.e., by requesting it from the checkout session. We populate the rule from the collection by using a filter that is based on ID. (As I mentioned in the beginning of this post, it is not the best means and can be used solely as an example. Make sure to describe the method of getting the rule the way that suits you the best). When having 2 mandatory objects in our block, it’s only left for us to check what the `$rule->validate($shippingAddress)`method of our rule will return, i.e., true or false. Based on the results, create (or not) a message that will be displayed on the cart page in our template. Inside the rule model, it works as follows:
```php
    /**
     * Validate rule conditions to determine if rule can run
     *
     * @param \Magento\Framework\DataObject $object
     * @return bool
     */
    public function validate(\Magento\Framework\DataObject $object)
    {
        return $this->getConditions()->validate($object);
    }
```
This method already exists in the `Magento\Rule\Model\AbstractModel` abstract class, from which our `Vendor\Rules\Model\Rule` class rules get inherited. If you need custom validation, it is always possible to add the `validate` own method to the class rules with or without invoking a parent method.
Here’s what we’ll get as a result on the frontend:
*The heavy_weight attribute value of the T1 Blue product equals 1:
![Valid product in a cart]

*The heavy_weight attribute value of the T1 Red product equals 0:
![Valid product in a cart]

As you can see on the screenshots, our message from the block gets displayed for the T1 Blue product under the cart label. For the red one, conversely, the message does not get displayed. This means that the rule works correctly.
Thank you all for taking the time to read the article. Should you have any questions, feel free to share them in the comments below. I’ll be happy to assist.


Hi,
Great article, congratulations!
But the code is not complete. Can you please repost the Class RuleExample and where the Validate rule conditions to determine if rule can run should be place?
Thank you!
Hi César,
Thank you for taking the time to leave us a comment. We’ve just merged the code from part two of the article to the master branch on GitHub. Now, you can see the example with the block on the cart page.
Also, we’ve added the validate method call to the Rule model for clarity.
If you wish to modify the Condition model, we would need to cover such a topic in a separate dedicated blog post.
Please provide us more details on what you intend to accomplish, and we’ll do our best to answer all of your questions and update the article so that it responds to them in full.